Under-Sink Kitchen Organization With a Tension Rod
The cabinet under your kitchen sink is the most wasted space in a rental kitchen. Pipes run through the middle, the garbage disposal hogs one side, and everything you toss in there lands in a dark pile: half-empty spray bottles, a sponge graveyard, that drain cleaner from two apartments ago.
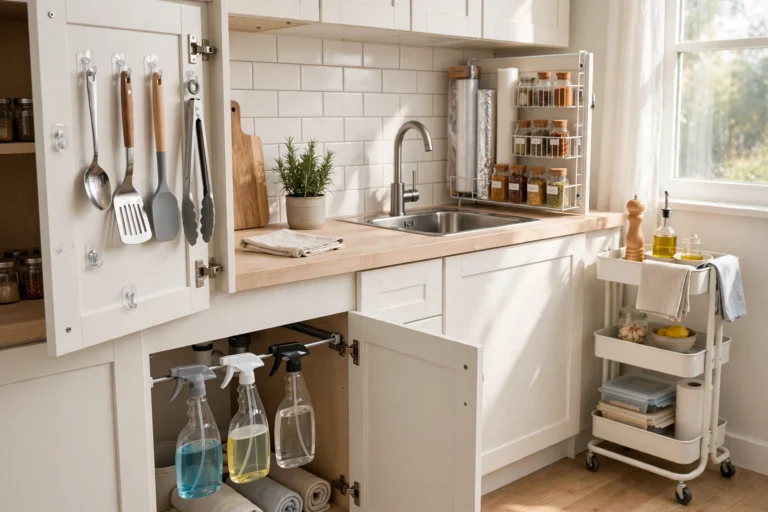
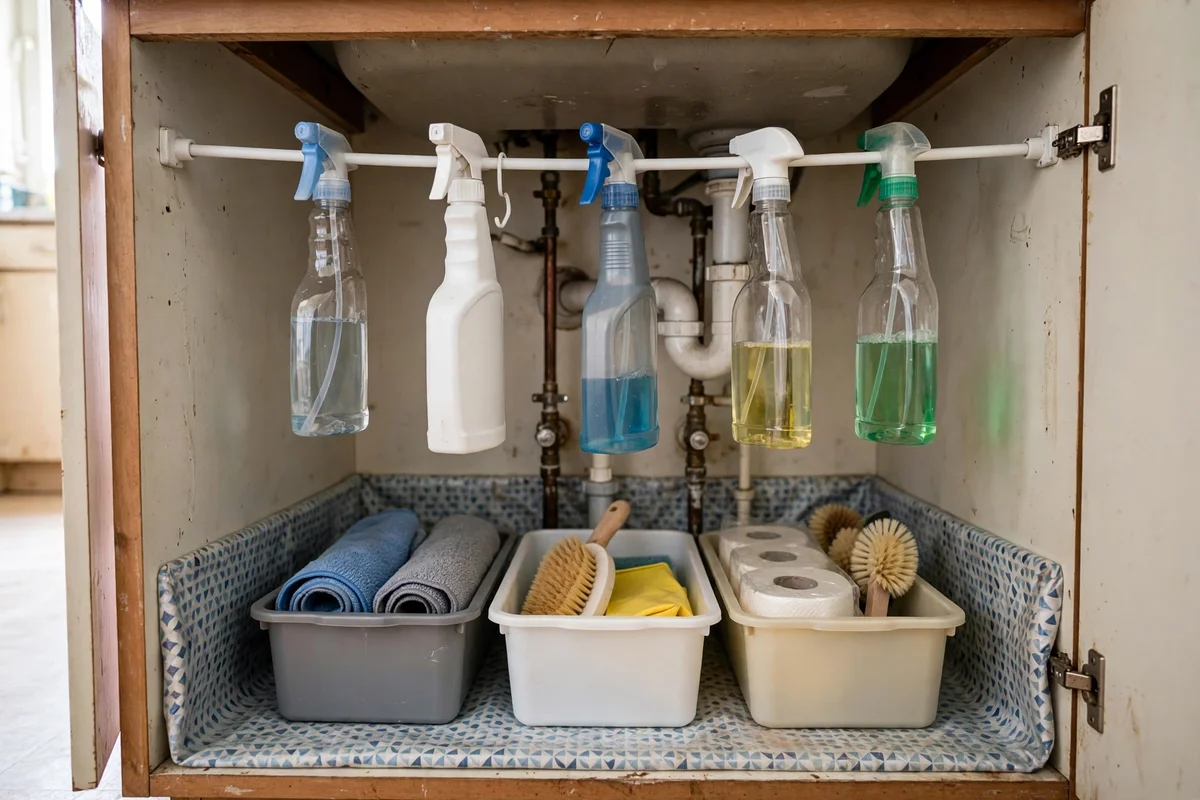
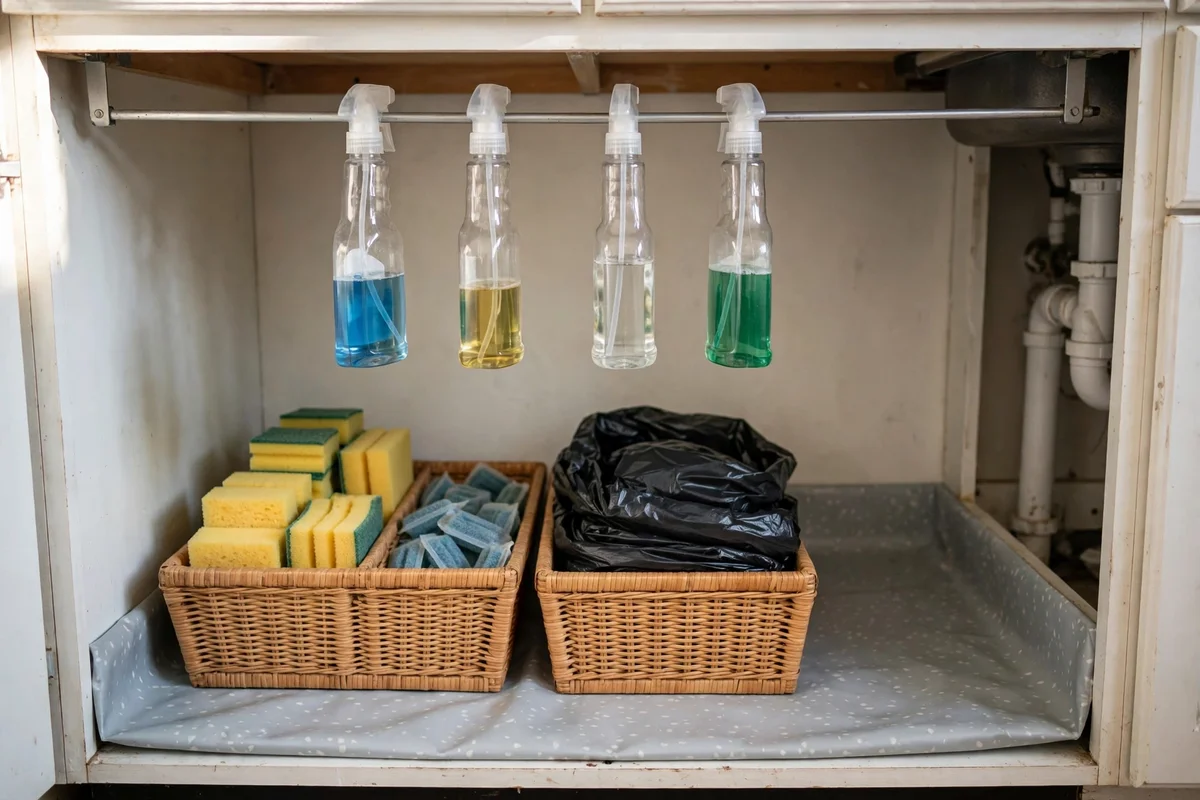
A tension rod fixes most of this for about ten dollars. It wedges between the cabinet walls with no screws, no drilling, and no damage, creating a hanging rail exactly where the dead space is. Spray bottles hang from it by their triggers. The floor below stays clear for bins. Suddenly the cabinet has two levels instead of one chaotic heap.
This guide shows you how to measure for the rod, what to hang on it, and how to build the rest of the under-sink system around it. Everything here is renter-safe and comes out in minutes on moving day.
Why a Tension Rod Works So Well Here
Under-sink cabinets are narrow, dark, and full of obstacles. Shelves do not fit around pipes, and anything screwed into the walls is off limits in most rentals. A tension rod sidesteps all three problems: it spans wall to wall above the pipes, installs with a simple twist, and comes out the same way.
The rod creates what the space is missing: a second level. Bottles that used to crowd the floor now hang in the air, which frees the bottom of the cabinet for stackable bins and bulky items. You get roughly double the usable storage from one inexpensive rod.
Choose a rod with rubber or silicone end caps. The caps grip the cabinet walls and protect the finish, which matters when you want your full deposit back.
Measure First: Getting a Rod That Fits
Tension rods only work when they are sized right. Too short and the rod cannot reach both walls; too long and it bows or will not tension properly. Five minutes with a tape measure prevents both problems.
1. Measure the inside width of the cabinet, wall to wall, at the height where you want the rod. Write the number down. Cabinet interiors are rarely the width you guess.
2. Note the obstacles. Supply lines, the disposal, the drain trap: the rod needs a clear horizontal path, so plan around them before you shop.
3. Pick a rod whose adjustable range covers your measurement. A rod labeled 15 to 28 inches fits most standard sink cabinets, but measure yours instead of trusting the label.
4. Set the height before you buy. The rod should sit high enough that hanging bottles clear the items below, and low enough that you can reach the triggers easily. About two-thirds up the cabinet wall is the sweet spot for most setups.
If your cabinet has an unusually wide span or uneven walls, look for a heavy-duty tension rod with a wider diameter. Thicker rods flex less under load.
What to Hang on the Rod
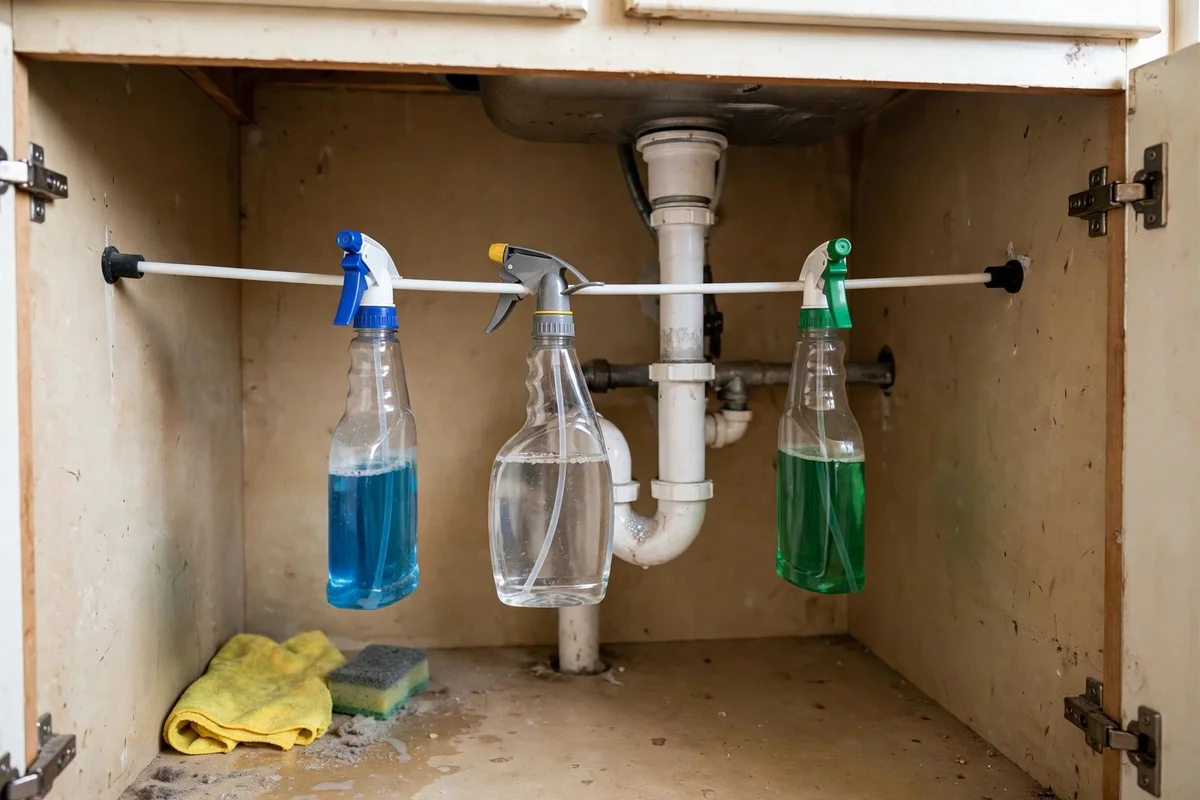
The rod earns its keep with spray bottles. Hang each one by its trigger head: the bottle dangles, the label faces out, and you can see every cleaner at a glance. No more knocking over three bottles to reach the one in back.
Spray bottles. Hung by the trigger, this is the number one use, and it alone transforms the cabinet.
Small cleaning caddy. Hang it from the rod with two S-hooks to hold sponges, brushes, and gloves in one grab-and-go carrier.
Rubber gloves. Drape a pair over the rod or clip them on with a clothespin-style hook so they dry between uses.
Scrub brushes with hanging holes. Thread them directly onto the rod or use S-hooks to keep them off the damp cabinet floor.
Trash bag roll. Keep the roll on the rod and tear one off as needed instead of digging through a crumpled box.
Keep it light. A standard small tension rod comfortably holds a few pounds of spray bottles and brushes. Heavy jugs of cleaner and bulk refills belong on the cabinet floor, not on the rod.
Build the Rest of the Under-Sink System
The rod handles the hanging layer. Give the rest of the cabinet the same zone treatment from our complete guide to organizing a small kitchen, and the whole space starts working as one system.
Floor zone: bins for the bulky stuff. One bin for extra sponges, dishwasher pods, and refills; a second for trash bags and specialty cleaners. Bins slide out like drawers, so nothing gets lost in the dark back corners.
Rod zone: daily cleaners at eye level. The bottles you grab every week hang where you can see them the moment the door opens.
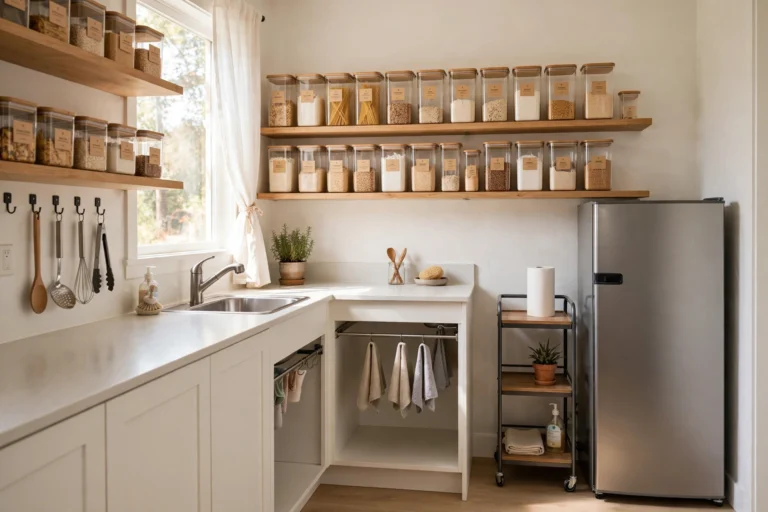
Door zone: the inside of the cabinet door. Add adhesive hooks or a slim adhesive-mounted rack for the items you reach for most. It is the same no-drill approach from our renter-friendly kitchen upgrades guide: nothing permanent, everything removable.
Line the cabinet floor first. A washable liner or a shallow tray under the bins catches drips from bottles and turns cleanup into a quick wipe. The under-sink cabinet sees more moisture than any other cabinet in the kitchen, so this small step pays off fast.
What Not to Do Under the Sink
A few cautions keep this project safe and landlord-friendly.
Never block the shut-off valves. Know where your hot and cold shut-off valves are and keep them reachable. In a leak, seconds matter, and a blocked valve turns a drip into a flood.
Respect the rod's weight limit. Check the packaging for the rated capacity and stay well under it. If the rod starts to bow or slip, you have hung too much on it.
Watch for rust. The under-sink area stays humid. A stainless steel or coated rod resists rust far better than bare metal, and wiping the rod dry now and then extends its life.
Keep chemicals upright and contained. Store cleaners in a bin with sides so a leaking bottle cannot spread across the cabinet. Never mix cleaners, and keep bleach away from ammonia-based products.
Do not hang anything from the pipes or the disposal. The rod is the support. The plumbing is not.
Renter Notes: Out in Two Minutes
When your lease ends, the whole system reverses in minutes. Twist the rod to release the tension and lift it out. Peel off the adhesive hooks (warm them with a hair dryer first if they resist). Slide out the bins and the liner. The cabinet looks exactly as it did on move-in day, with no holes to fill and no marks to explain.
Keep the rod and hooks for your next place. They fit a different cabinet just as well, which makes this one of the cheapest organizing upgrades you can reuse from apartment to apartment.
FAQ: Under-Sink Organization Questions
Will a tension rod damage my cabinet walls?
Not when it is sized correctly. The rubber end caps spread the pressure, and the rod holds itself in place with tension rather than fasteners. Avoid overtightening, which is the main cause of dents in soft cabinet materials like particleboard.
What size tension rod fits under a kitchen sink?
Measure your cabinet's inside width first. Most standard sink cabinets fit a rod adjustable from about 15 to 28 inches, but cabinets vary, so buy by your measurement rather than by a guess.
How much weight can a tension rod hold under the sink?
It depends on the rod. Standard small rods typically hold a few pounds, which is plenty for spray bottles and brushes. Check the rated capacity on the packaging, keep heavy jugs on the cabinet floor, and treat any bowing or slipping as a sign to lighten the load.
What if my pipes are in the way?
Mount the rod in front of or behind the main pipe run, whichever side gives a clear horizontal path. Most cabinets have a workable gap on one side of the drain trap. If neither side is clear, mount the rod higher up, above the pipe curve.
Can I use a tension rod under a bathroom sink too?
Yes, the same method works in bathroom vanities for hanging spray bottles and small caddies. Measure first, since bathroom cabinets are often narrower than kitchen ones.
Your Next Step
Measure your cabinet today and pick up a rod on your next store run. Installation takes about five minutes: twist, wedge, hang. Start with just the spray bottles and you will feel the difference the first time you open the door.
For the zone system behind this setup, read our complete guide to organizing a small kitchen, and for more no-drill ideas see our renter-friendly kitchen upgrades guide. You can also browse more ideas in the kitchen organization hub.