Small Pantry Organization Ideas on a Tight Budget
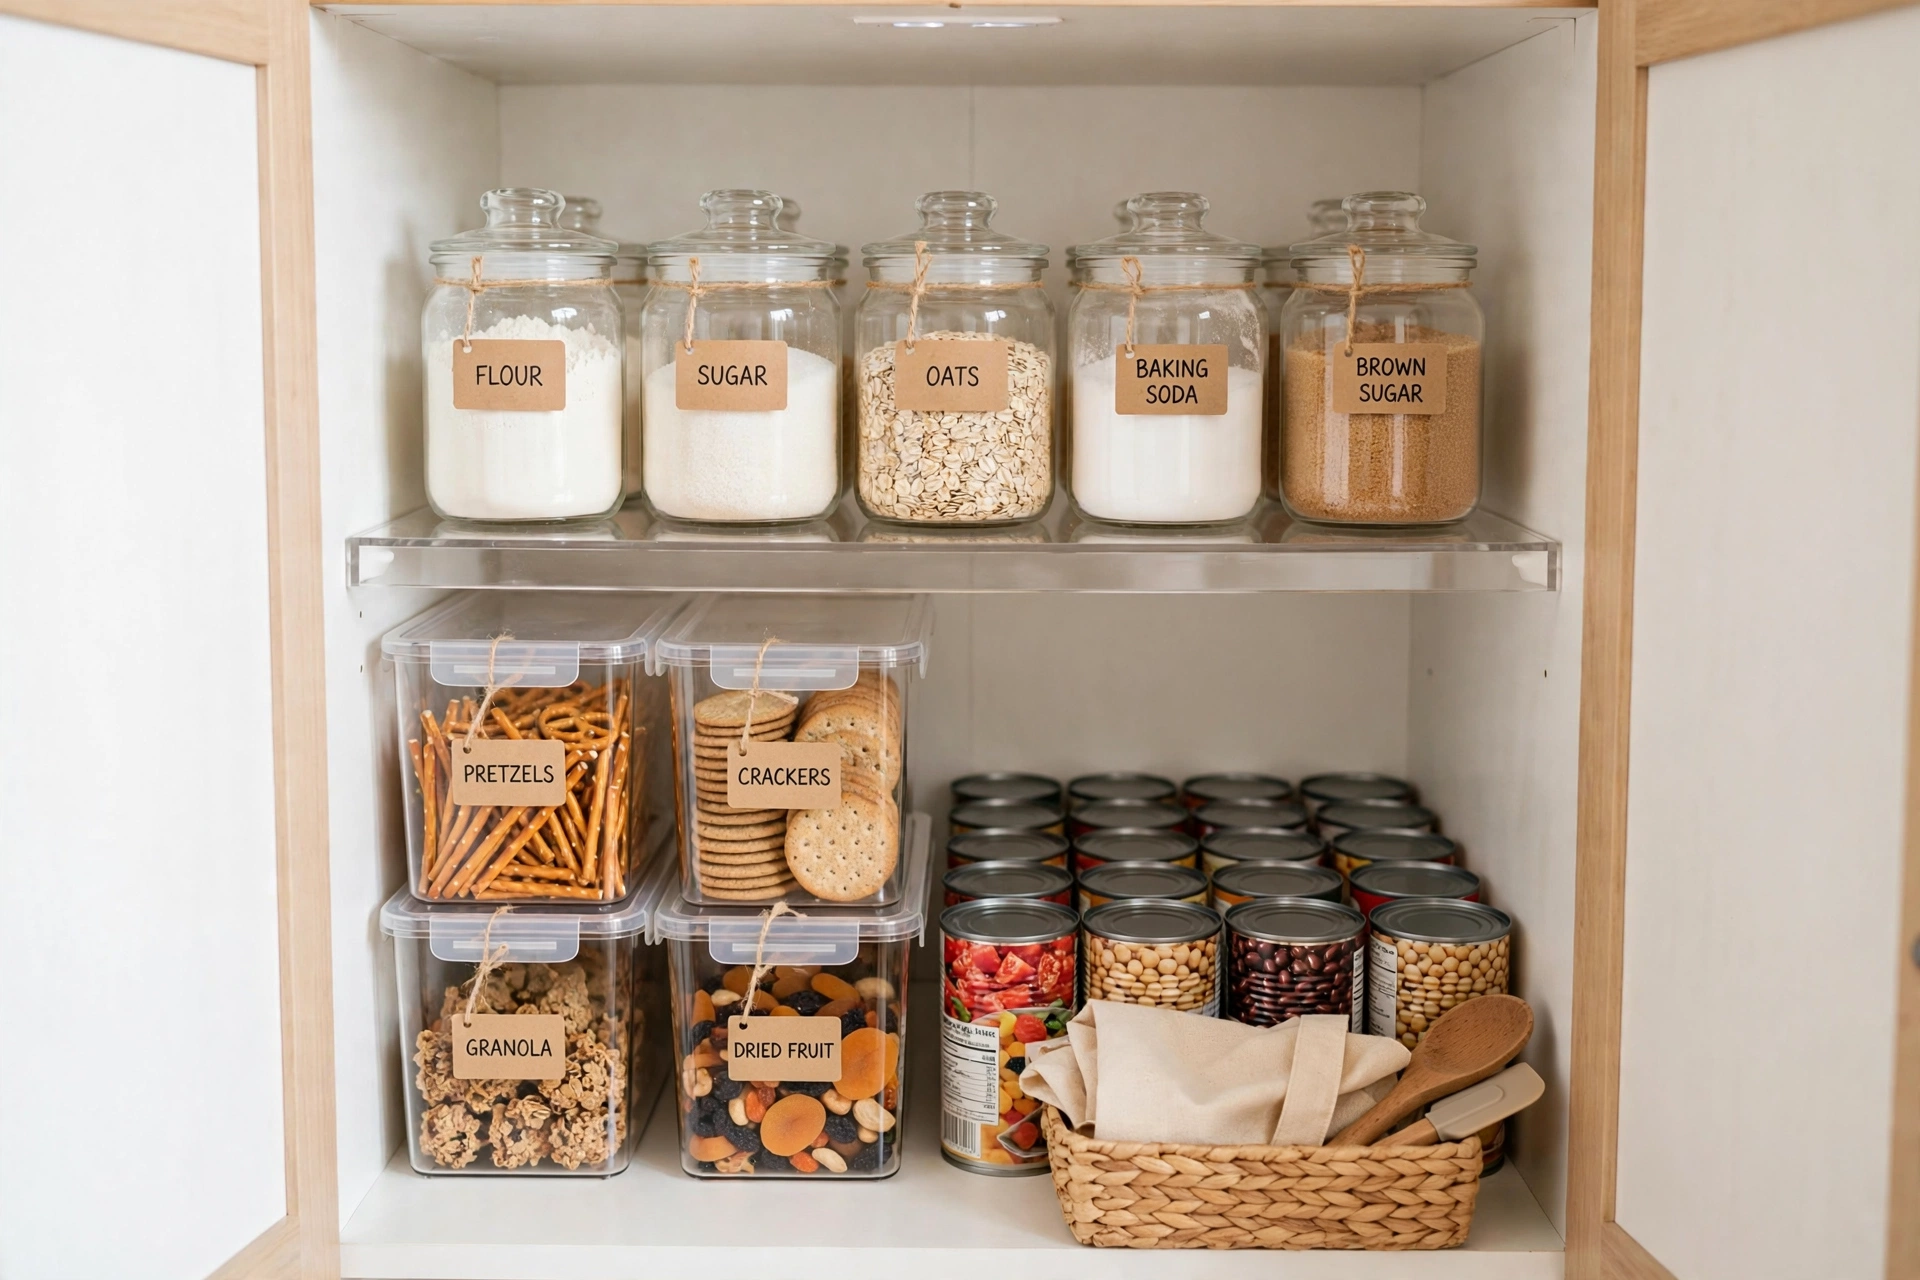
No walk-in pantry? No problem. Most renters work with a single cabinet (maybe two if the landlord was generous) and that one cabinet can absolutely run your whole kitchen's food storage. The secret isn't buying an expensive matching container set. These small pantry organization ideas are built for one-cabinet pantries, tight budgets, and renters who can't renovate: zones, clear bins, and dollar-store finds that turn a chaotic shelf into a system that works.
You don't need a bigger kitchen. You need a plan for the space you have, and about twenty dollars.
Start Free: The Pantry Purge
Don't spend a cent until you've cleared the decks. Most small pantries aren't short on space, they're full of food nobody is going to eat.
Do this first:
- Pull everything out. Every can, box, and half-open bag comes out onto the counter. Yes, all of it.
- Toss the expired. Check every date. Spices older than a year have lost their flavor, replace only the ones you actually use.
- Donate the "never again" items. That specialty flour from one recipe, the canned something nobody likes, bag it for the food bank if it's unopened.
- Consolidate the duplicates. Two half-bags of rice become one bag. Three open boxes of the same pasta become one.
- Wipe the shelves. A damp cloth now, before anything goes back, saves you from sticky shelves later.
Most people find they can remove a quarter of what was in there. That's free space you didn't have to buy, and it's the only "storage product" that actually costs nothing.
Give Your One Cabinet Zones
A pantry isn't a closet, it's a system. Even a single cabinet works when every shelf has a job. This is the same zone thinking behind our complete guide to organizing a small kitchen, shrunk down to one cabinet.
The three-zone cabinet:
- Top shelf: backstock and rarely used. Extra cans, bulk flour, the backup cooking oil. You reach up here once a week at most.
- Middle shelf (eye level): daily cooking. The oils, spices, and grains you grab every day. This shelf earns the prime real estate.
- Bottom shelf: heavy and kid-friendly. Heavy jars, the snack bin, anything bulky. Low shelves hold weight better and keep snacks reachable.
If you have a second small cabinet or a deep drawer, make it the overflow zone: baking supplies together, or all the snacks in one pull-out spot. The rule is simple. Every item belongs to a zone, and every zone has a shelf.
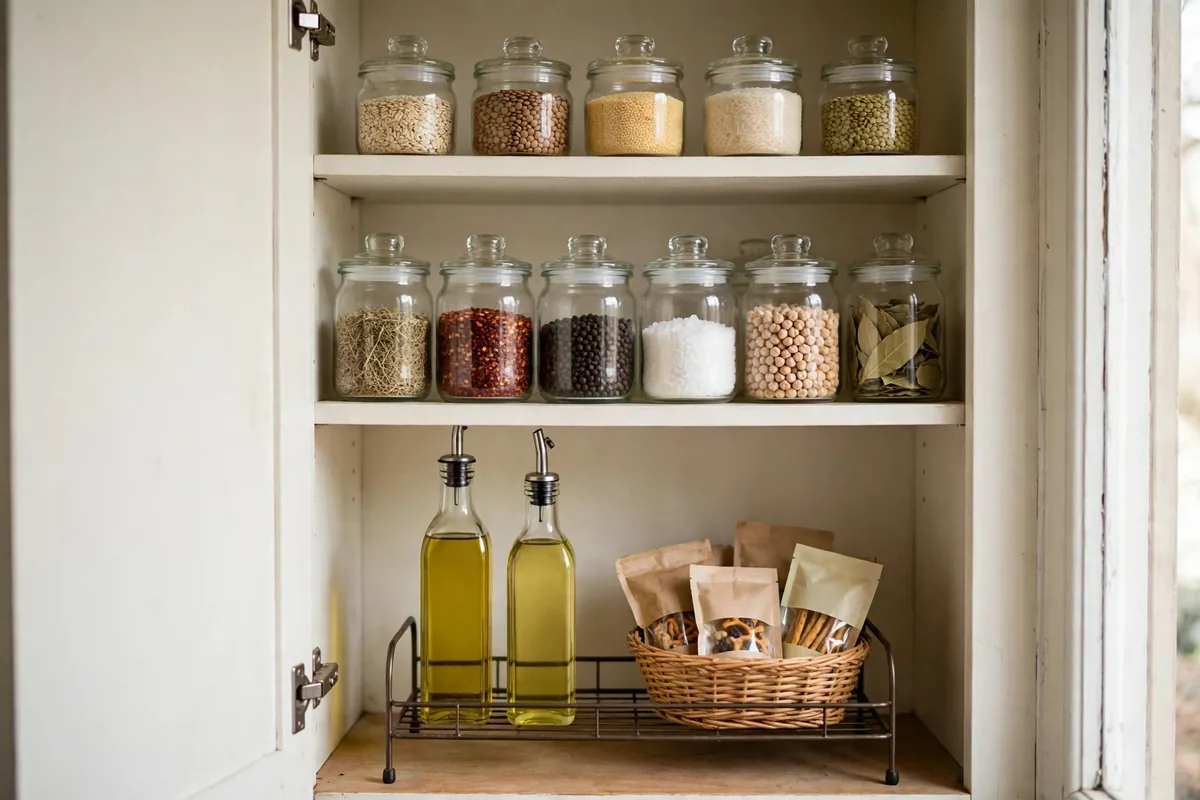
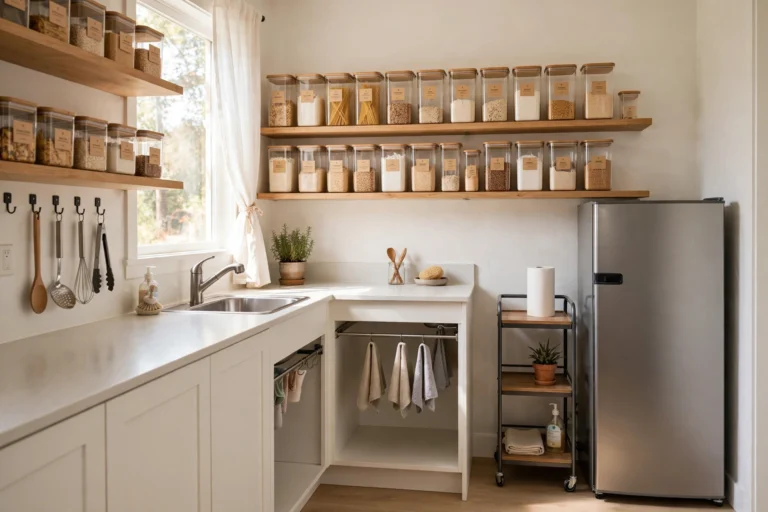
Small pantry organization ideas for open shelves: No cabinet at all? A freestanding bookshelf or a rolling cart becomes your pantry. Give each shelf a zone label (a sticky note works) and treat it exactly like the three-zone cabinet above.
Decant the Big Five
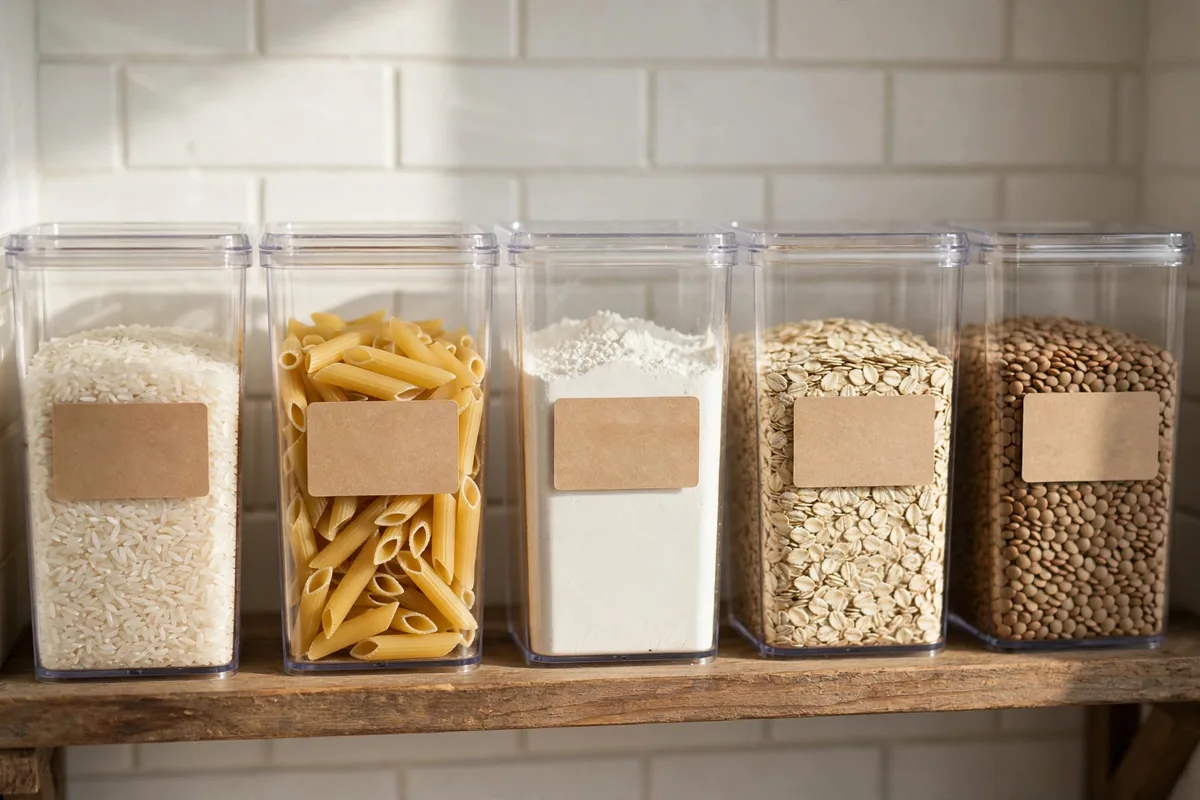
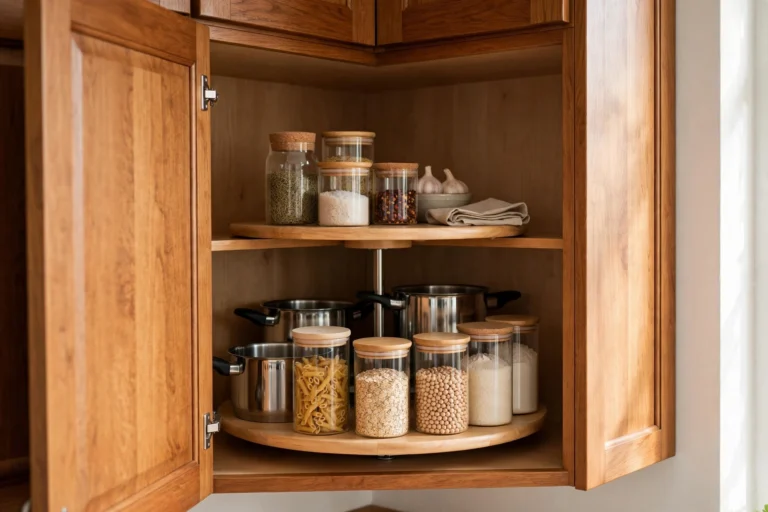
Decanting (moving dry goods from bags and boxes into containers) is the single most visible pantry upgrade. But you don't need to decant everything. Start with the big five: the dry goods you buy most and that come in the worst packaging.
- Flour
- Sugar
- Rice
- Pasta
- Oats or cereal
Uniform containers stack neatly, seal out pantry moths and moisture, and let you see at a glance when you're running low. Square containers fit shelves better than round ones, they waste no corner space.
The budget move: you don't need a matching designer set. Dollar stores sell perfectly good airtight containers, and a set of five runs a few dollars. Buy clear ones so you can see the contents, and add a strip of masking tape as a label. It looks intentional, and it costs almost nothing. Everything else (the odd-shaped boxes, the half-used bags) stays in its original packaging until you finish it. Decant as you restock, not all at once.
Small Pantry Organization Ideas Using Vertical Space
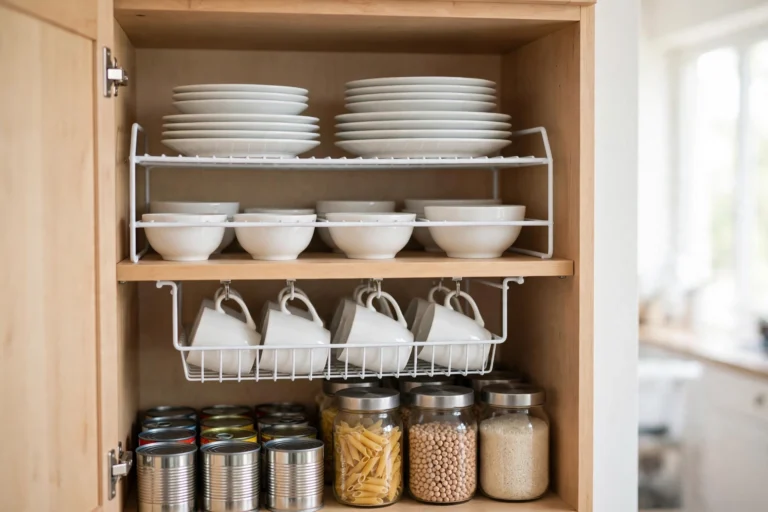
Cabinets are taller than the stuff inside them. That dead air above your cans is free storage waiting to happen.
Add a shelf riser. A freestanding wire or bamboo riser sits on the shelf and creates a second level, cans on top, jars below. One riser roughly doubles what a shelf holds, and it lifts out at move-out with nothing to uninstall.
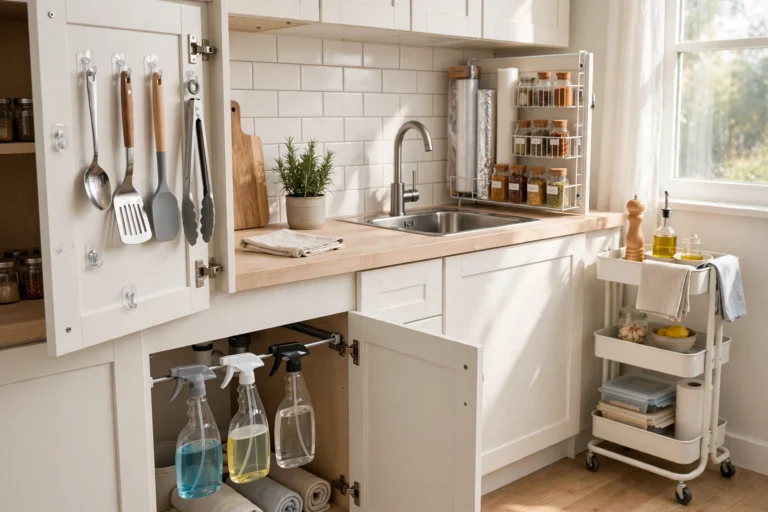
Use the inside of the door. The inside of a cabinet or pantry door is a blank panel. Stick a slim adhesive-mounted rack there for spice jars, or hang small adhesive hooks for measuring cups. This trick comes straight from our no-drill kitchen upgrades guide, nothing permanent, everything designed to be removable.
Stack with bins, not piles. Small stackable bins turn one deep shelf into two organized layers: snacks in the top bin, baking supplies in the bottom. Bins also slide out like drawers on deep shelves, so nothing gets lost in the back.
Go up for the rarely used. The very top of the cabinet (or the shelf above the fridge) is for the holiday platter, the giant stockpot, the backup paper towels. Put them in one labeled bin so the "up high" zone stays intentional instead of becoming a graveyard.
The $20 Pantry Makeover List
Here's the entire shopping list for a one-cabinet pantry transformation. Everything is generic, buy whatever your dollar store or discount store carries.
- Shelf riser ($3-5): doubles one shelf's capacity instantly.
- Set of 5 clear containers ($5-8): for the big five dry goods.
- Two small stackable bins ($2-4): one for snacks, one for baking.
- Pack of adhesive hooks ($3-5): for inside the cabinet door, measuring cups, small racks.
- Roll of masking tape ($1): labels for every bin and container.
Total: under $20. Buy in this order: purge first (free), measure your shelves, then buy only what fits. The most common wasted purchase is a container set that doesn't fit the shelf height, measure twice, buy once.
What not to buy: skip the giant matching container sets until you know what you actually store. Skip single-purpose gadgets. And skip anything "pantry system" branded, a bin is a bin, and the dollar-store version holds rice just as well.
Keep It Working: The 5-Minute Pantry Reset
An organized pantry stays organized with almost no effort, if the system is simple. Once a week, when you're putting groceries away:
- Put new groceries in their zones. Don't just shove bags onto shelves, ten extra seconds now saves a reorganization later.
- Toss anything expired you spot while unpacking.
- Straighten one shelf. Just one. Rotate the whole cabinet over a month and it never needs a big overhaul.
- Check the "eat first" items. Move anything close to expiring to the front of its zone.
That's it. Five minutes with the grocery bags, and the pantry stays at the level you built it.
FAQ: Small Pantry Questions
How do I organize a pantry with no shelves?
Create shelves where none exist. A freestanding shelf riser doubles any flat surface, stackable bins create layers, and a small bookcase or rolling cart can become a full pantry in a kitchen with zero built-in storage. Zones work the same on any surface.
What's the cheapest way to organize a small pantry?
Purge first (free), then spend under $20: a shelf riser, a few clear containers for the dry goods you buy most, two stackable bins, and adhesive hooks for the cabinet door. Dollar stores carry all of it. Measure your shelves before you buy anything.
Should I decant everything into matching containers?
No, decant the five dry goods you buy most (flour, sugar, rice, pasta, oats) and leave the rest in original packaging. Full matching sets look great on social media but cost real money; the big five give you 90% of the benefit for a fraction of the price.
How do I keep a small pantry from getting messy again?
Give every category a zone and a container, and put groceries away into their zones instead of onto random shelves. Do the 5-minute reset when you unpack groceries. Most pantry chaos comes from "I'll put it away properly later", the system only works if items land in their homes the first time.
Can I organize a pantry in a rental without damaging anything?
Yes, everything in this guide is removable. Shelf risers and bins just sit in place, adhesive hooks are designed to peel off cleanly, and containers move with you. Nothing here requires drilling or screws, but check your lease, since 'removable' doesn't guarantee your deposit back.
Start With One Shelf Today
You don't need a weekend or a big budget. Pull one shelf out of your cabinet tonight, purge it, give it a zone, and put it back with a bin or two. Tomorrow morning you'll open that cabinet and feel the difference.
Then work through the rest of the cabinet the same way: purge, zone, contain. For the full kitchen system around your new pantry, read our complete guide to organizing a small kitchen, and browse more ideas in the kitchen organization hub.
One Comment