Studio Apartment Layout Guide: Zones That Actually Work
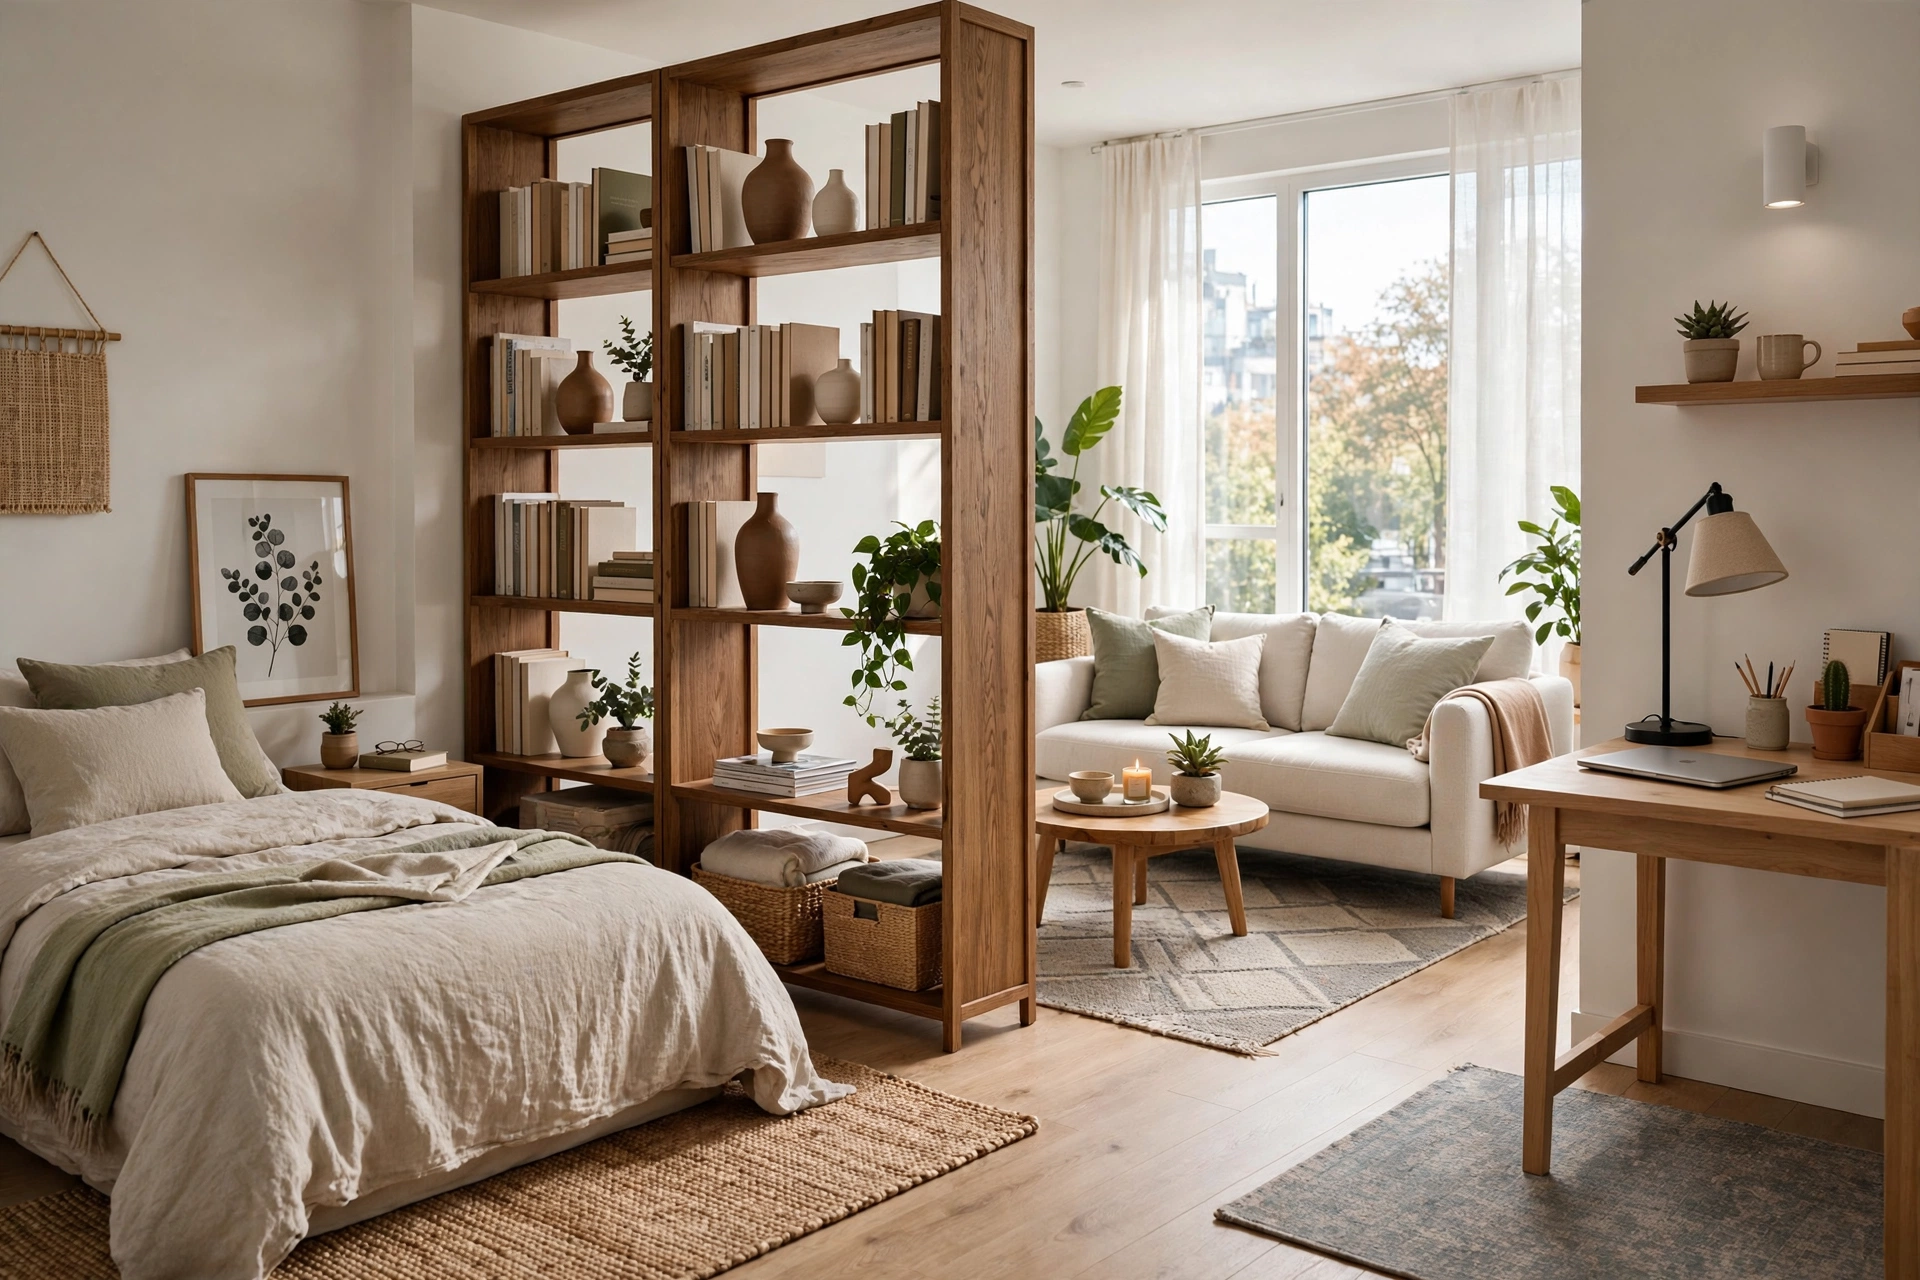
A studio apartment is one room trying to do four jobs. You sleep, work, eat, and relax in the same space, and without a plan, it all blurs together. The bed becomes the couch, the couch becomes the desk, and the whole place feels like one big cluttered bedroom.
The fix isn't more furniture or a renovation. The best studio apartment layout ideas work by dividing your one open room into zones (distinct areas for sleeping, living, working, and dining) using nothing but furniture placement and a few renter-friendly pieces. No drilling, no construction, nothing your landlord would object to.
This guide shows you the zone principles, where to put each zone, and concrete layout examples for the most common studio shapes. Find your shape, place your zones, and the whole apartment starts to feel twice as big.
How the Zone Method Works in a Studio
A zone is simply an area dedicated to one activity. In a house, walls create zones for you. In a studio, you create them with placement: a rug, a bookcase, the direction a sofa faces.
Three principles make zones work:
Define with furniture, not walls. The back of a sofa, a bookcase turned sideways, or a rug's edge all signal "this area is for this." Your brain reads these cues the same way it reads a doorway.
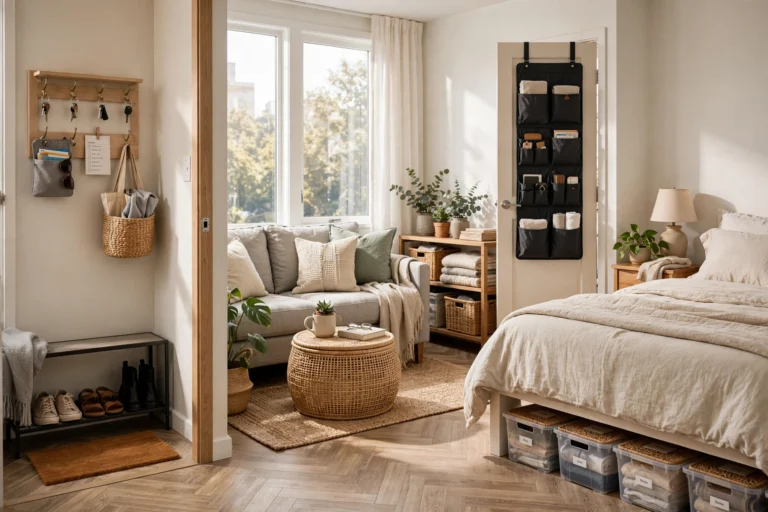
Keep each zone's storage inside it. A zone falls apart when its stuff migrates. The work zone needs its own paper tray; the sleep zone needs its own nightstand. When every item has a home inside its zone, clutter stops traveling.
Protect the traffic path. Every studio needs one clear walking lane from the front door to the farthest point (usually the window or kitchen). Never let furniture block it. About 30 inches of clear width keeps the whole place feeling open.
Start by sketching your studio on paper: even a rough rectangle with the door, windows, and kitchen marked. Then assign zones before you move a single piece of furniture. Planning on paper takes ten minutes and saves a weekend of heavy lifting.
Studio Apartment Layout Ideas for the Sleep Zone
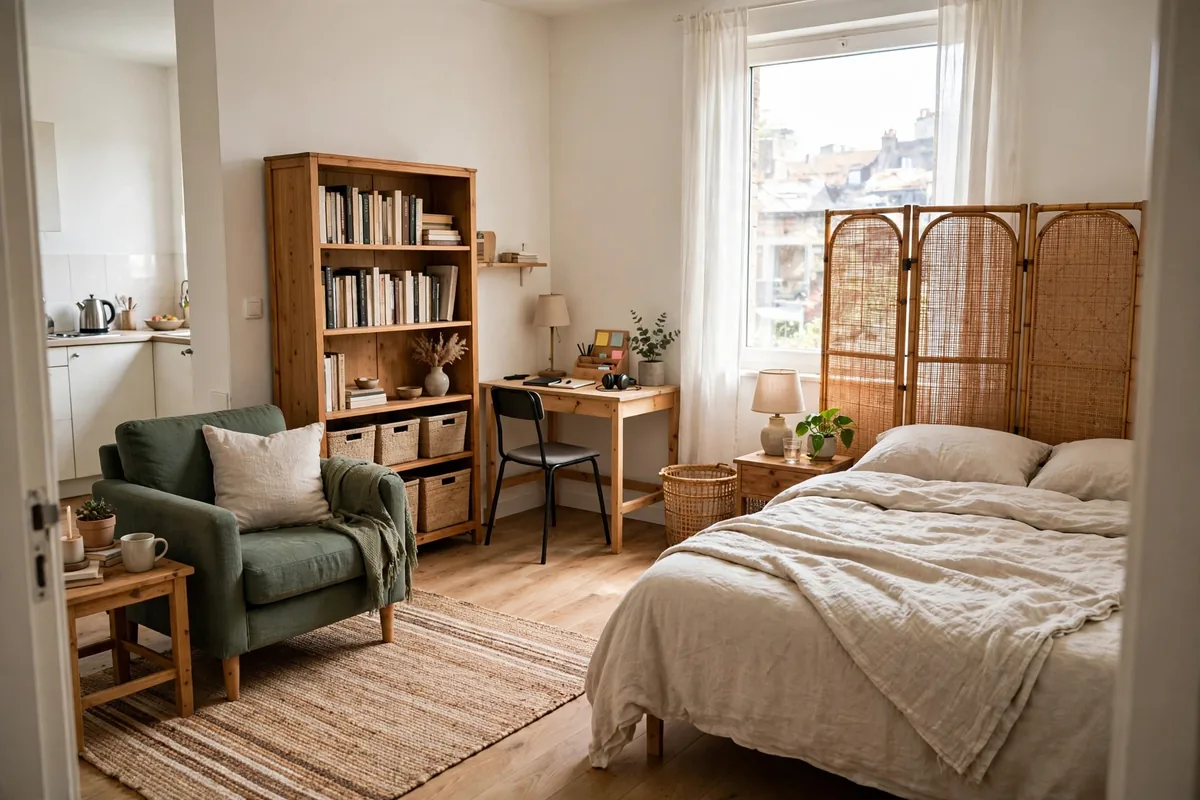
The sleep zone matters most because bad sleep ruins everything else. Give it the best spot in the studio: the farthest corner from the front door, ideally near a window for morning light.
Put the bed in a corner, headboard against the wall. Corners feel more private and leave the rest of the room open. If you have a window wall, place the bed beside (not under) the window to get light without glare.
Face the bed away from the front door. You should not see the front door from your pillow. This one change makes the sleep zone feel like a bedroom instead of a bed sitting in a living room.
Anchor it with a rug. A rug under or beside the bed marks the zone's boundary. Extend it well beyond the bed's sides so your feet land on something soft every morning.
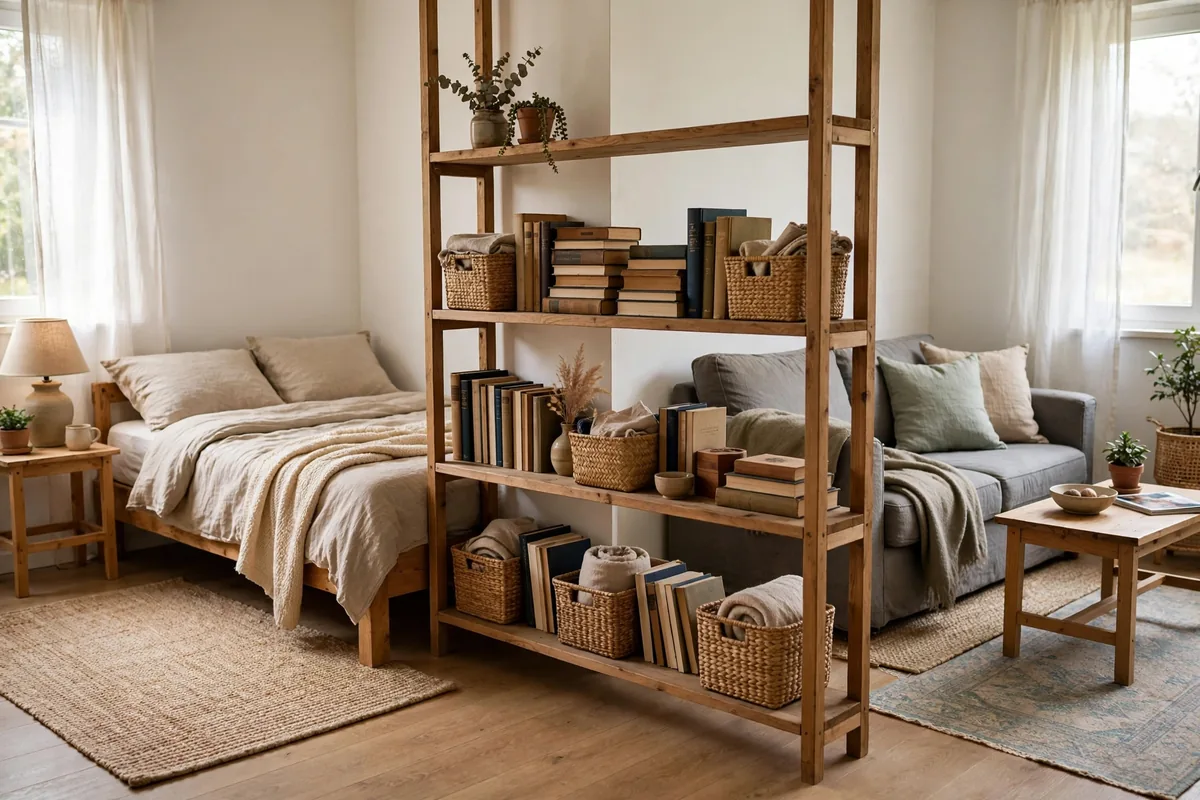
Add a divider if the bed faces the room. A tall bookcase, a freestanding clothing rack, or a curtain hung from a tension rod gives the sleep zone a visual wall. The bookcase is the best choice, it divides and stores at the same time.
Keep work out of the sleep zone. Never put your desk next to your bed. When work lives within arm's reach of your pillow, your brain never fully clocks out. Even a few feet of separation, marked by a rug edge or a plant, helps.
For the storage systems that keep each zone working behind the scenes, read our Complete Small Apartment Organization Guide.
The Living Zone: Your Daytime Home Base
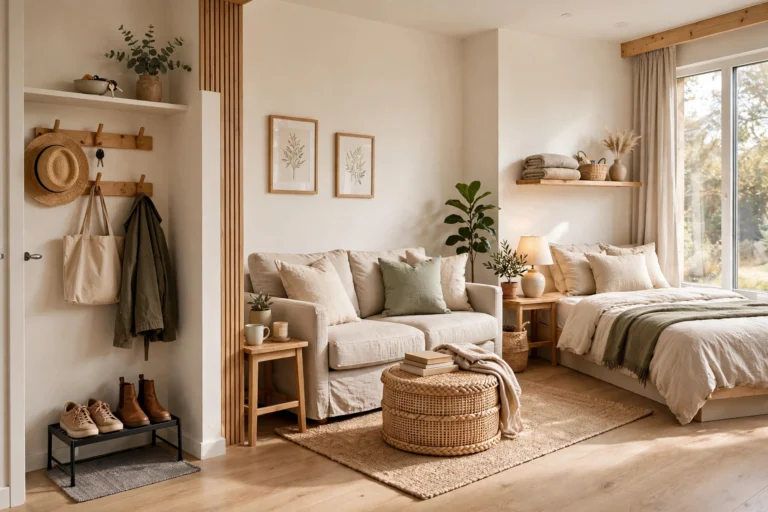
The living zone is where you spend your waking hours: relaxing, reading, hosting. Place it between the front door and the sleep zone: guests should meet the living area first, not your bed.
Float the sofa with its back to the sleep zone. A sofa facing the door or window, with its back toward the bed, creates a natural wall between living and sleeping. The back of the sofa becomes the boundary line.
Face seating toward the best light or view. In a studio, the focal point is often the window. Arrange the sofa and a chair around a coffee table facing the windows, daylight is the best feature you have.
Use a coffee table with storage. A lift-top coffee table or storage ottoman holds the living zone's clutter (remotes, chargers, throws) inside the zone. Pair it with a rug that fits under the front legs of the seating to lock the arrangement in place.
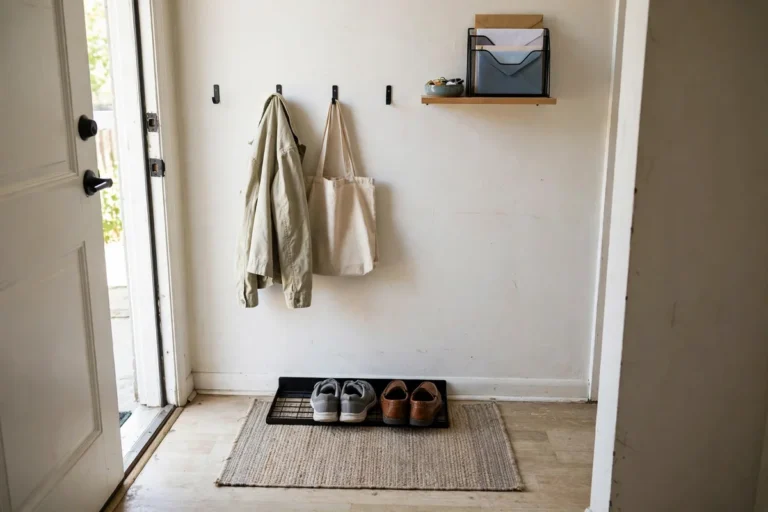
Keep the entry clear. The first thing you see when you walk in should be the living zone, not a wall of stuff. Leave the area just inside the door open, a small tray for keys on a narrow shelf is all it needs.
Work and Dining Zones Without Extra Rooms
Work and dining are the zones studios squeeze hardest. Both can share space if you are deliberate about it.
The work zone: smallest footprint, clearest boundary. You need a desk, a chair, and a boundary: a small rug or a bookcase turned perpendicular to the wall marks it. Tuck the desk into a corner away from the bed and face it toward the wall or window, never toward the pillow. When the workday ends, close the laptop and clear the surface. A work zone that resets daily never becomes a junk zone.
The dining zone: make it do double duty. A small round table with two chairs works for meals, laptop sessions, and game nights. Place it near the kitchen to shorten the food-travel distance. If space is truly tight, a drop-leaf table against the wall seats two for dinner and folds flat the rest of the day.
Never combine the bed with work or dining. Eating or working from bed destroys the sleep zone's boundaries. If the studio is so small that the bed feels like the only seat, add a floor cushion or a small stool, anything that gives your body a different posture for different activities.
Share storage between zones. A bookcase between the work and dining zones can hold office supplies on one side and table linens on the other. Shared boundaries with shared storage keep both zones functional in half the space.
For dozens of no-drill ways to add storage inside each zone, see these 45 renter-friendly storage ideas, most take under 20 minutes.
Studio Apartment Layout Ideas for 4 Common Studio Shapes
Here are concrete starting layouts. Find your shape and adapt it.
The long rectangle. The most common studio: door at one short end, windows at the other. Put the living zone near the door with the sofa facing the windows, the dining and work zones in the middle, and the sleep zone at the far window end. The walking lane runs straight down one side. Place a bookcase perpendicular between the sleep zone and the rest to create the bedroom wall.
The square studio. Divide it into quarters: sleep in the corner farthest from the door, living in the corner nearest the door, work in a third corner by the window, dining near the kitchen. Use rugs to mark each quarter and keep the center open as the traffic hub. A square studio feels biggest when the middle stays clear, resist the urge to fill it.
The L-shaped studio. The short leg of the L is a natural bedroom: it is already half-separated. Put the sleep zone there with a curtain or bookcase across the opening. The long leg holds living near the door, dining in the middle, and work at the far end by the window. The L's inside corner is perfect for a tall storage piece that serves both legs.
The railroad (galley) studio. Door at one end, one long narrow room. This is the hardest shape: the walking lane wants the middle, so zones line the walls. Put the bed against one long wall at the far end, the sofa against the opposite long wall near the door, and the desk and dining table along the remaining wall stretches. Keep furniture low and narrow, deep pieces eat the lane. A runner rug down the walking lane ties it together visually.
In every shape, the rule is the same: living near the door, sleeping farthest from it, work and dining in between, one clear walking lane throughout.
Renter-Friendly Ways to Draw Boundaries
You cannot build walls, but you have five renter-safe tools for drawing zone lines:
Rugs. The single best zone marker. One rug per zone, sized to fit the furniture it anchors. Different textures or colors per zone strengthen the signal.
Bookcases and shelving. Turned perpendicular to the wall, a bookcase is a wall that stores things. Freestanding units need no mounting and move with you.
Curtains on tension rods. A tension rod wedged between two walls with a curtain creates a soft wall for the sleep zone. It comes down in seconds at move-out.
Plants. A tall plant or a row of medium plants on a narrow bench marks a boundary while keeping sightlines open. Good for separating living from dining without blocking light.
Furniture direction. The cheapest divider is free: face the sofa away from the bed, angle a chair toward the conversation area, turn the desk to face the wall. Direction tells your brain where each zone starts and ends.
Combine two or three of these and your studio reads as four rooms, not one.
FAQ: Studio Apartment Layout Questions
Where should the bed go in a studio apartment?
The farthest corner from the front door, headboard against the wall, facing away from the entrance. This gives the sleep zone the most privacy and keeps guests from walking straight into your bedroom.
How do I separate the bedroom area in a studio without building walls?
Use a tall bookcase turned perpendicular to the wall, a curtain on a tension rod, or a freestanding clothing rack. The bookcase is the best option because it divides the space and adds storage at the same time.
Can a studio apartment have a home office?
Yes. You need a desk, a chair, and a clear boundary like a small rug or a bookcase edge. Tuck it into a corner away from the bed, face the desk toward the wall or window, and reset the surface at the end of each workday.
How do I make a studio apartment feel bigger?
Keep one clear walking lane from door to window, use rugs to define zones instead of filling the middle, choose furniture that stores things (storage ottoman, lift-top coffee table), and let daylight be the focal point. Most "small" feelings come from blocked paths and mixed-up zones, not from the amount of space.
Should the living area or bedroom be near the front door?
The living zone goes near the front door; the sleep zone goes farthest from it. Guests should enter into your living area, and your bed should be the most private spot in the apartment.
Your Next Step
Sketch your studio's shape, assign the four zones on paper, then move one zone this weekend. Start with the sleep zone, since better boundaries there pay off every single night. Once the zones are placed, keep each zone's storage inside it, and the whole apartment stays organized with almost no effort.
For the zone-by-zone storage systems behind these layouts, read the Complete Small Apartment Organization Guide, or browse more small apartment guides for room-specific ideas.
2 Comments