How to Organize a Small Living Room Step by Step
Most small living rooms are not too small. They are organized in the wrong order: storage bought before decluttering, furniture arranged before anyone decided what each corner is for, and then one more bin stacked in a corner to “solve” it. This guide fixes the order, not the room. You will work through three phases in sequence, declutter first, then zone the room, then store what remains, and you can do the whole thing in one weekend. Each step feeds the next, so by Sunday evening your living room has a place for everything instead of a little bit of everything everywhere.
The method below assumes you are a renter working with the furniture and footprint you already have, plus a tape measure and a free weekend. No drilling, no new furniture required, though you will learn exactly which storage pieces earn their floor space if you do buy anything. For a deeper bench of storage ideas once you reach the final phase, see our small living room storage ideas.
The One-Weekend Order of Operations
Do the phases in this order and do not skip ahead. Decluttering first means you only find homes for things worth keeping. Zoning second means the furniture layout serves how you actually use the room. Storing last means every basket and shelf has a job, because the room already told you what it needs.
The rough schedule: Saturday morning is decluttering, Saturday afternoon is zoning and rearranging, Sunday morning is storage placement, and Sunday afternoon is the final reset. Budget about four to five hours on Saturday and three to four on Sunday for a room under 200 square feet. A bigger room just stretches the same steps, it does not change them.
Step 1: Declutter First (Saturday Morning)
Storage cannot fix too much stuff, and every organizing system collapses faster than the time it took to build it when the room holds more than it can. Decluttering is not a personality trait or a lifestyle, it is the practical first half of the weekend, and it works best with a timer and three destination bins.
1a. Measure the room and every piece of furniture
Before you touch a single item, grab a tape measure and write down the room’s length and width, plus the footprint of the sofa, chairs, tables, and any shelving. This takes ten minutes and it changes every decision that follows. When you know your room is 11 by 13 feet and your sofa eats 7 by 3 of it, you stop guessing about what fits and you start catching problems on paper instead of by shoving furniture around. Note the clearances you need too, because you will use them in Step 2: a main walkway needs 30 to 36 inches, a secondary path needs at least 24, and the coffee table sits 14 to 18 inches from the sofa front.
1b. Clear every flat surface into three bins
Set a timer for one hour and clear the coffee table, side tables, shelves, windowsill, and the top of every radiator or media console into three bins: keep in this room, relocate to another room, and leave the apartment (donate or trash). Touch each item once and decide. The relocate bin gets carried out of the living room the same afternoon, not parked in the hallway, because a bin in the hallway is just clutter with a new address. The leave bin gets a cardboard box that goes by the door and out to the car or donation drop before dinner, so the decision is final while the motivation is fresh.
1c. Apply the footprint rule before anything comes back
Here is the mechanism that makes the declutter stick: nothing comes back into the room until Step 2 assigns it a zone. If an item has no zone after you map the room, it goes to the relocate bin. This one rule prevents the most common failure in living room organizing, where cleared items quietly migrate back to the same surfaces over the following week. The keep bin stays staged in one corner, sorted and waiting, while you work on the layout with an empty-feeling room. That empty room is the point, it is what lets you see the space you actually have.
Step 2: Zone the Room (Saturday Afternoon)
Zoning is the difference between a small room and a cramped room. A small room with three clear zones feels intentional. A room the same size with furniture pushed against the walls and no defined purpose per corner feels like a storage unit. Your job this afternoon is to give every part of the room a job, using the furniture measurements you took in the morning.
2a. Pick three zones, no more
Almost every small living room needs exactly three zones: a lounge zone (sofa, coffee table, main seating), a perch zone (a chair or corner by the window for reading, scrolling, or conversation), and a storage edge (the one wall or corner where closed storage lives). Three zones keep the room readable. Four or five turns it into an obstacle course. Mark each zone loosely with painter’s tape on the floor if you want to see it before you lift anything: one tape rectangle for the lounge, one for the perch, one along the storage wall. The rug goes down first and becomes the anchor of the lounge zone, ideally 6 to 8 inches wider than the sofa on each side, because a rug that floats in the middle of the floor shrinks the room instead of grounding it.
2b. Set clearances with the tape measure, not your eyes
Pull furniture into the taped zones and check the numbers from the morning. Keep the main walkway, the path from the door to the farthest chair, at 30 to 36 inches wide. Anything under 30 turns daily walking into sidestepping, and that single measurement is responsible for most “this room feels tiny” complaints. Give the coffee table 14 to 18 inches of space from the sofa front so you can walk around it without turning sideways. Leave at least 24 inches around any piece you need to access, like the side of a bookshelf or a chair you pull out. If a zone fails a clearance, shrink the furniture before you shrink the walkway: a smaller coffee table is always the better trade than a blocked path.
2c. Fix the three layout mistakes that make small rooms feel cramped
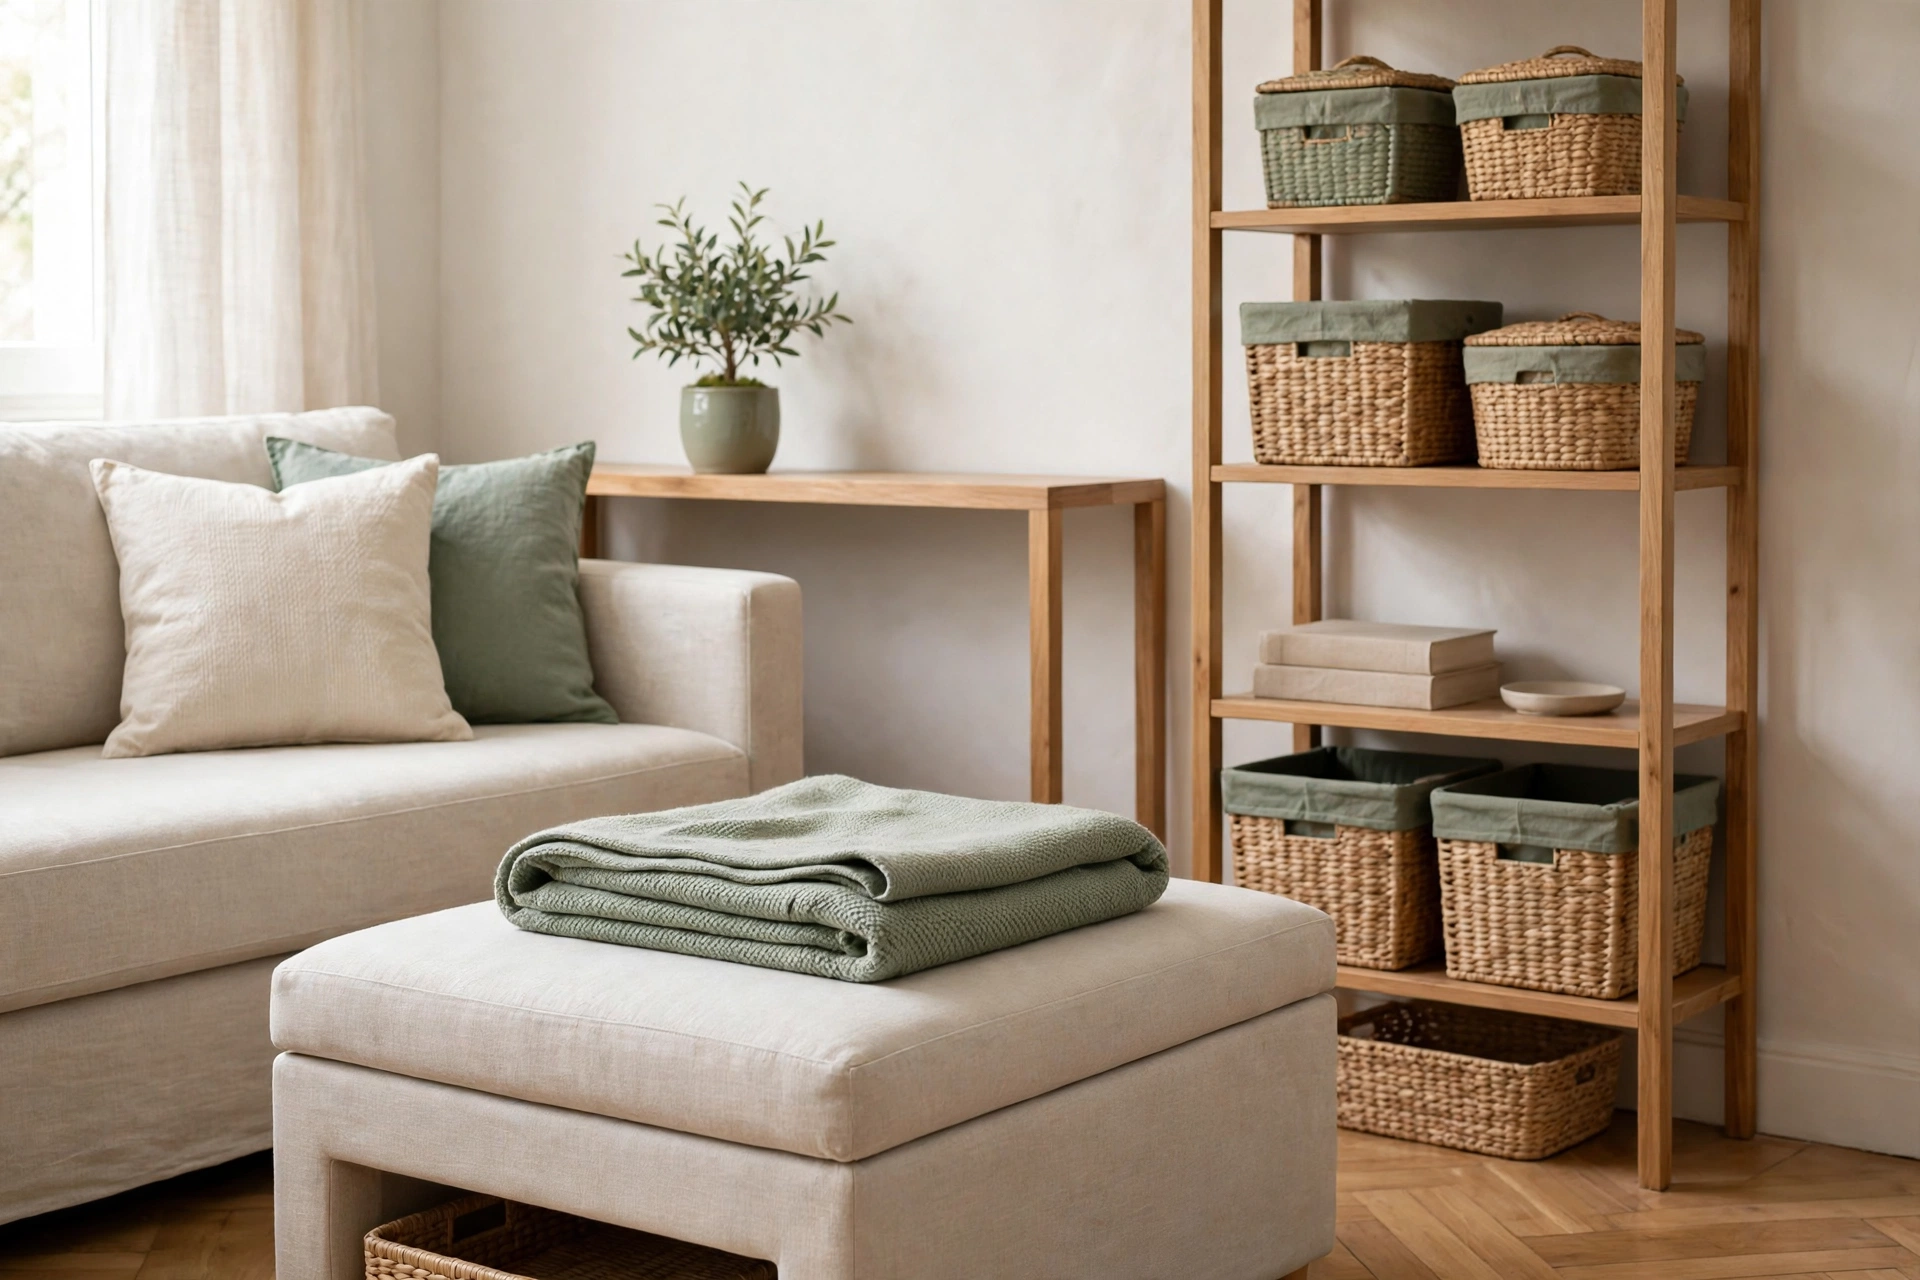
First, stop pushing every piece of furniture flat against the walls. A sofa pulled even 3 to 4 inches off the wall reads as breathing room, and floating a small console behind the sofa adds storage without adding footprint. Second, do not block the window. Light is the cheapest square footage a small room has, so the perch zone belongs near the window and tall furniture belongs on the walls away from it. Third, watch the coffee table. An oversized table in a small room blocks the lounge zone’s walkway and becomes the surface where clutter re-accumulates. A storage ottoman roughly half the sofa’s width does the same job, holds blankets inside, and tucks away when guests need floor space.
Step 3: Store What Remains (Sunday Morning)
Only now, with the declutter done and the zones mapped, do you place storage. This is deliberate. Storage bought first ends up holding whatever fit at the store; storage placed last holds exactly what the zones need. Bring the keep bin back into the room and sort its contents by zone: lounge items near the sofa, perch items near the chair, everything else to the storage edge. For a full catalog of pieces that work in rooms this size, our small living room storage ideas goes deeper than this walkthrough can.
3a. Go vertical and narrow on the storage edge
The storage edge gets one tall, narrow shelf rather than a wide low one. A shelf 10 to 12 inches deep and 5 to 6 feet tall holds as much as a much wider bookcase while giving up barely a foot of floor. Place it on the wall opposite the window so it never steals light, and keep it at least 24 inches from the nearest walkway. Use woven baskets on the shelves instead of open stacking: one basket per category, with the basket itself hiding the visual noise. If the shelf is tall and you have kids or pets, anchor it with a removable furniture strap, since freestanding means tippable.
3b. Make the lounge furniture earn double duty
The lounge zone is where most living room clutter actually lives, so its furniture should hold things. A storage ottoman swallows throws, remotes, and the board games that migrate to the coffee table. A slim console behind the sofa, 10 to 12 inches deep, holds a lamp and a basket for the items that used to live on the sofa arm. A basket under the coffee table or side table catches whatever still escapes. The principle is simple: every horizontal surface in the lounge gets a container beneath or beside it, so clearing the room later takes minutes instead of an hour.
3c. Contain small stuff by zone, not by category
The final placement rule: store items where you use them, not with their category. Chargers live in the perch zone’s basket because that is where the phone charges. Coasters and the remote live in the lounge zone’s basket because that is where they get used. This feels wrong to people who sort by category, but category sorting is what creates the weekly “put everything back” chore. Zone sorting means each item’s home is two steps from where it gets used, which is the only distance that actually gets respected on a tired weeknight. Three zones, three baskets, and the keep bin should now be empty. If it is not, those leftovers go to the relocate bin from Step 1, no exceptions.
The Sunday Reset: Keeping It Organized
A room stays organized because of a routine, not because of the weekend you set it up. Give it twenty minutes on Sunday afternoon and the room resets itself all week. Clear each zone’s flat surfaces into its zone basket, carry the relocate strays to their real rooms, fluff and re-fold the lounge throws, and empty any basket that overflowed. The test of whether the weekend worked is this reset: if it takes under twenty minutes, the zones and containers fit your life. If a zone keeps defeating you, the fix is almost never more storage. It is one more declutter pass, or a zone boundary that needs moving six inches.
Your Next Step
Do the weekend in order: declutter Saturday morning, zone Saturday afternoon, store Sunday morning, reset Sunday afternoon. One room, one weekend, and a tape measure doing most of the thinking. When the storage edge starts calling for a second look, our small living room storage ideas has the deeper bench of pieces worth their floor space. And if you are renting, skim your lease before any wall-mounted addition to the storage edge, so every choice stays inside what your landlord allows.